Showing posts with label restoration. Show all posts

Friday, June 29, 2012

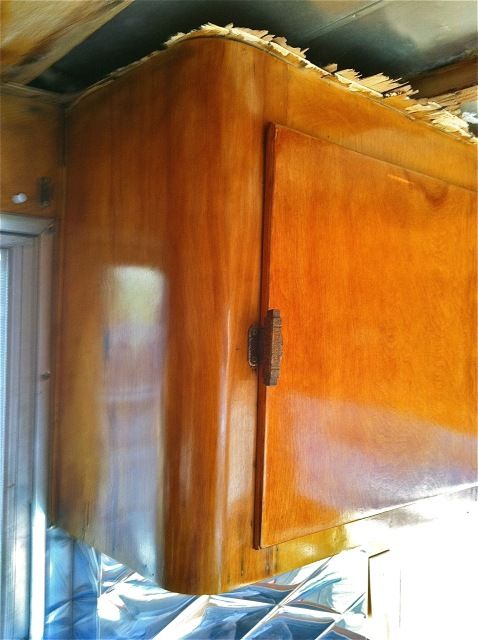
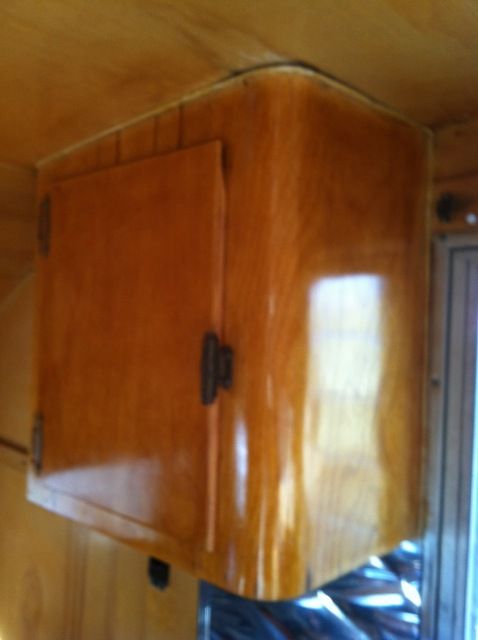
Some progress is being made.  All of the cabinets are stripped, re-stained and re-shellaced.  I am pleased with how they turned out.   Seems like I have been at this forever but slowly feeling like I'm getting somewhere...until the next thing pops up.

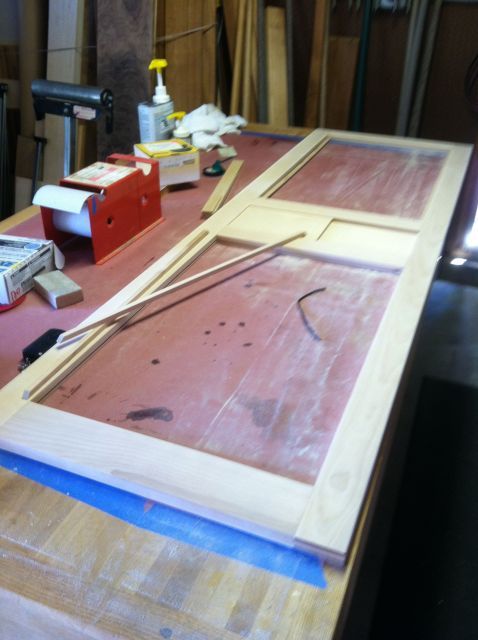
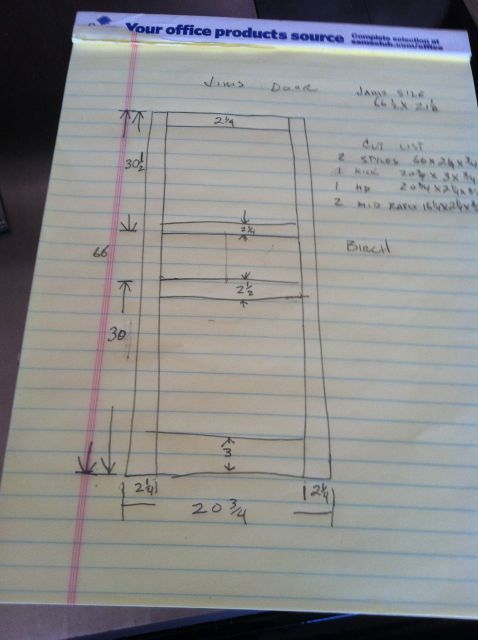
My fly fishing buddy, Mark, helped us by making a screen door that I never would have been able to achieve.  He's a cabinet maker and did some incredible work on a screen door made of birch.


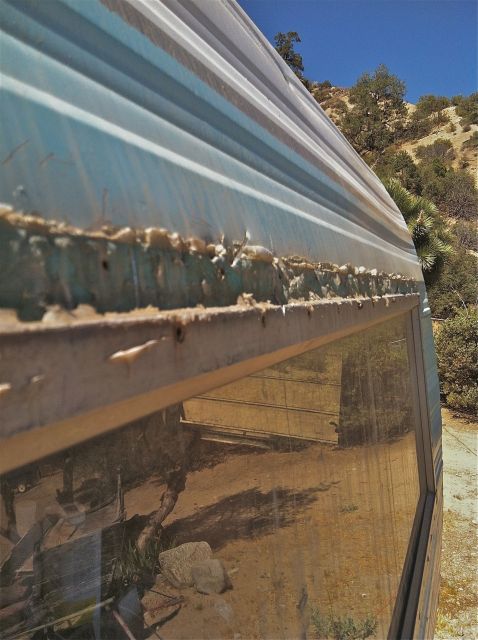
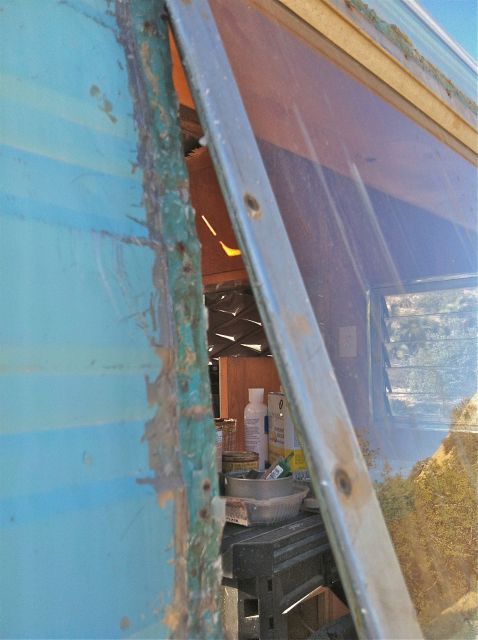
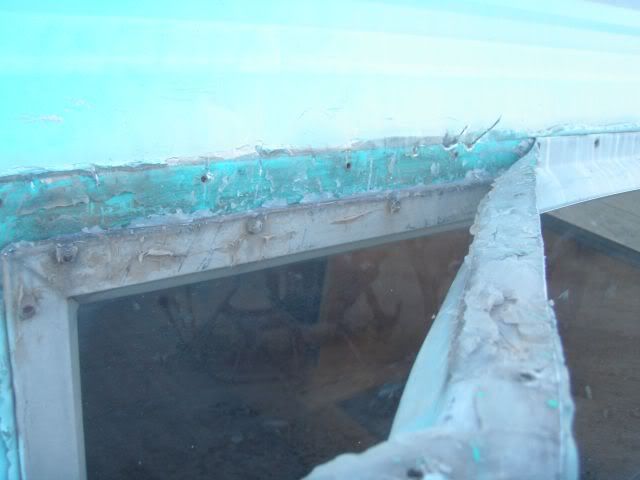
 I am ready to get the tin off the front and replace the paneling and the braces which were rotted out.  There was only one obstacle...the PO had used three tubes of silicone on the window and the sides.

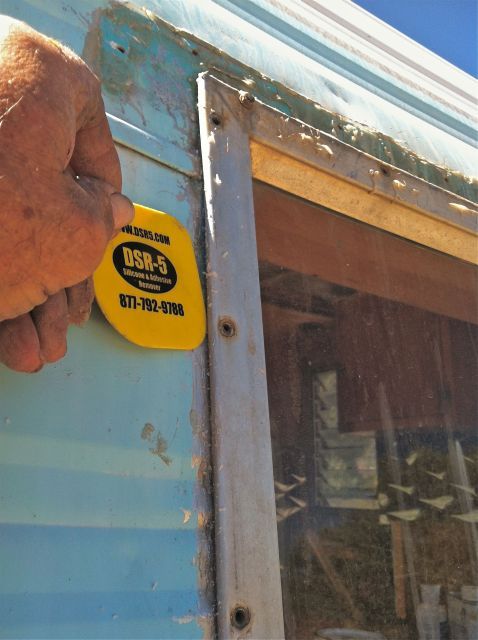
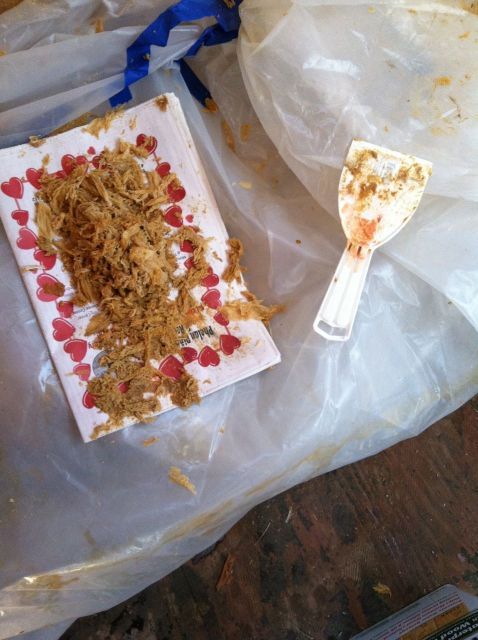
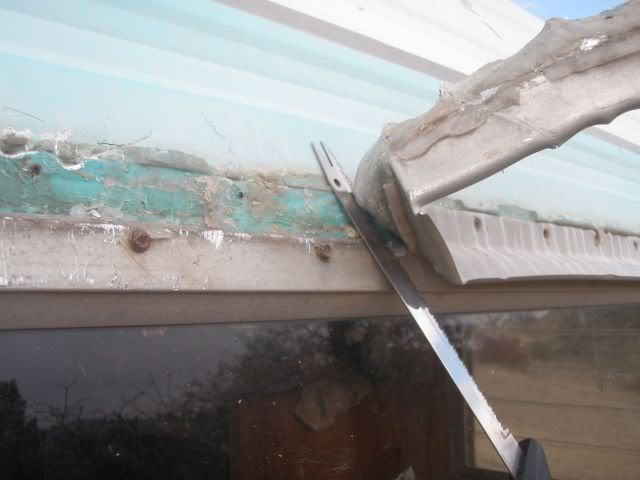
First I wiped the silicone remover on and then scraped with this little guy
Had to move very slowly as to not hurt the tin
I spent six hours getting the window free from the tin.  I ruined the eyebrow over the front window with my earlier and crude removal technique.  This time I have a product that removes silicone without ruining the paint and a bread knife from my camp box that I used to "fillet" the silicone away from the metal very slowly.


Whew!  Finally.

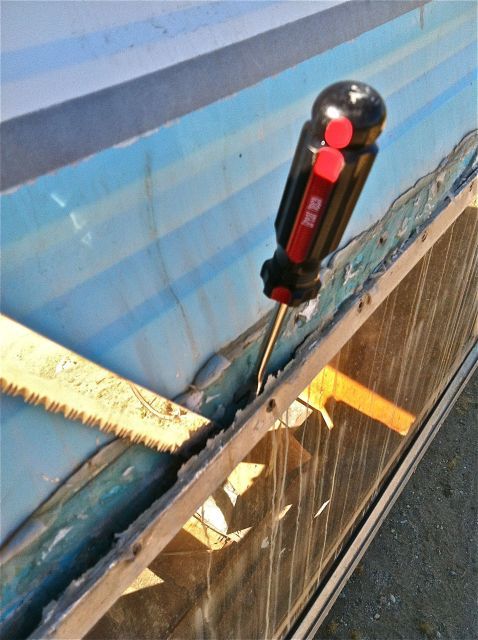
 Prying gently with my little pry tool and sawing slowing got the job done.
Very frustrating five hours.


Finally got the window off and will have another five hours invested just cleaning the residual silicone off both the window and the tin to reinstall it correctly.

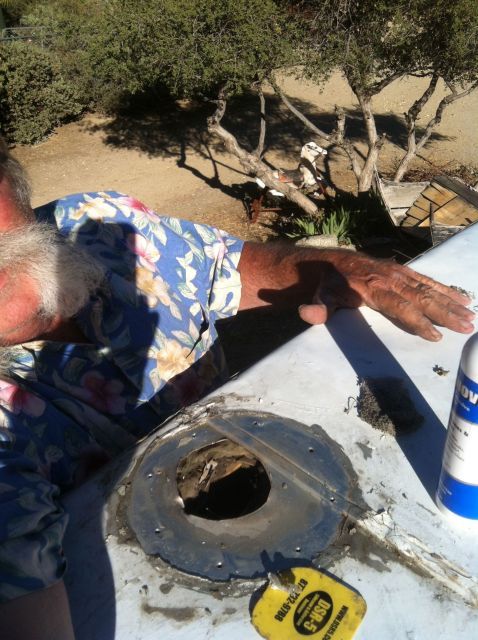
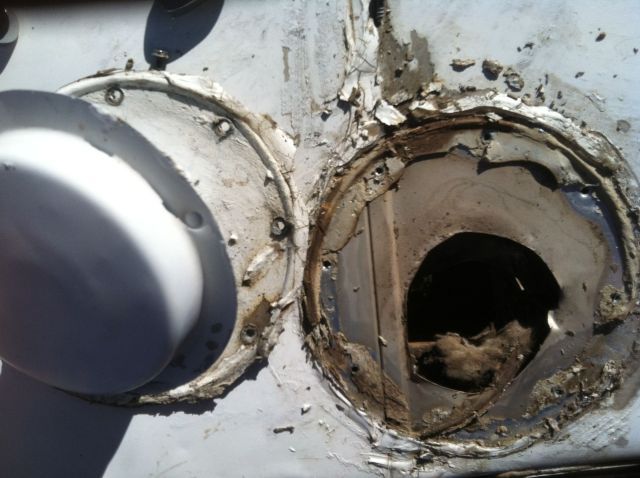
Then it was up to the roof to remove and reset the little vent and the air vent.

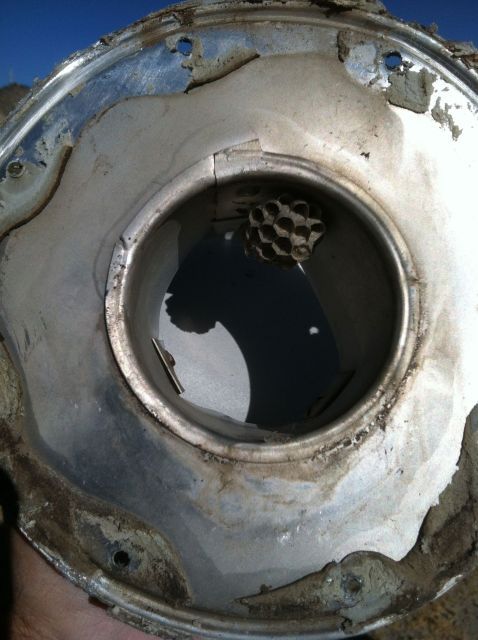
 Both had copius amounts of silicone that was baked hard in the sun.  it was considerable fun to try and get those hex screws to start moving again and it took a pair of pliers to slowly get them started.

The PO put silicone everywhere!


Finally got it off and found another wasp nest inside of it.


The next job is to remove the main air vent frame that was, you guessed it, had more silicone gooped around it then made sense.  I will have to make a platform out of 2 X 6's and plywood so i can work on that.  Once that is off and cleaned, I can pull the front tin and start installing new birch and framing.

I think I need to do some more of this......

Before I do some of that.


Tuesday, May 29, 2012

The Weather Did A 180!

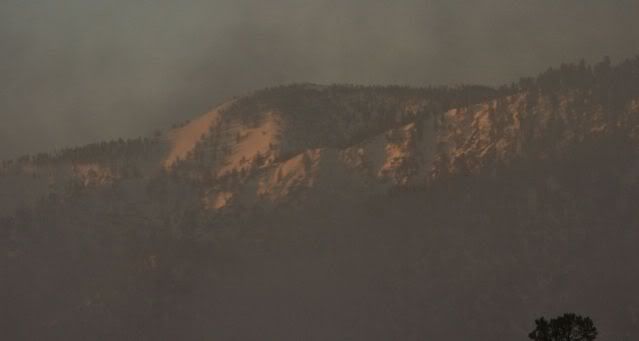
 The weather did a 180...going from the 90's down to 24 in the mornings for a few days as a British Columbia low barreled through.  We're back on track for high 90's every day and no rain in site until fall.   The brush and trees in the chaparral that surrounds us has a fuel moisture so low that any spark will set it ablaze and roar up the canyon.  Going to be a very tough year for wild fires and this is the last year I will be responding with a federal Fire management team and going around the country.  With the restrictions on our movement when we are on two hour, it's tough to get into the back country.

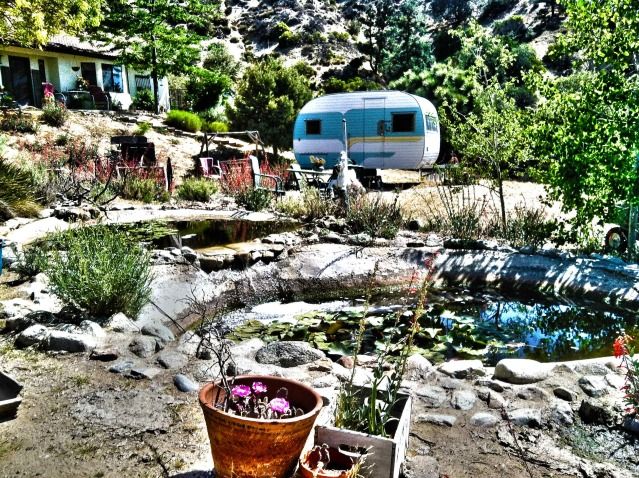
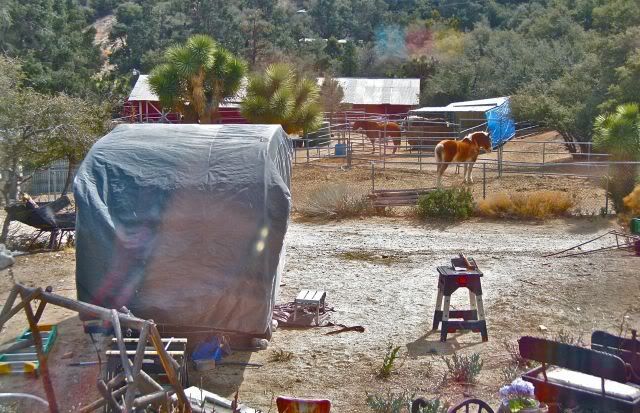
Here's a shot of the deville in the front yard with the pond and waterfall in the foreground.  We're thinking of having a permanent "camp" right there and use the trailer as a guest room.
The cactus are blooming and the hummingbirds are back in force.  Next...coveys of baby Quail running around the place.

Next up is taking the tin off and rebuilding the front end Birch and supporting wood.

For All The Folks Outside Of the US... 

If you are viewing and reading this from outside the US please take a moment and make a comment.  I am curious as to how you found us but would also like to hear about your interest in vintage trailers (or whatever you call them in your country)  I am amazed the the many locations around the world that have checked in to take a look.  Thanks and look forward to hearing from you.


Thursday, May 24, 2012

Been a while since I updated.  Been busy with other chores around the ranch and projects.

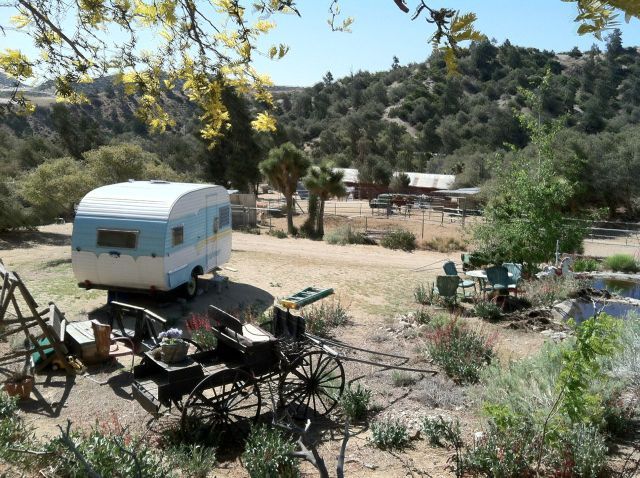
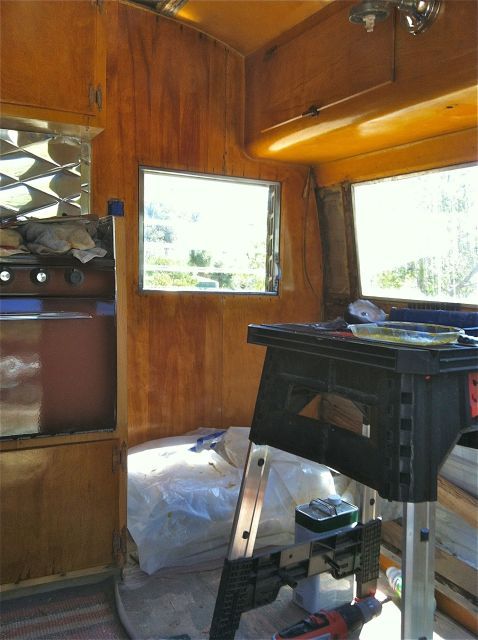
The Deville sits right below our house while I am restoring
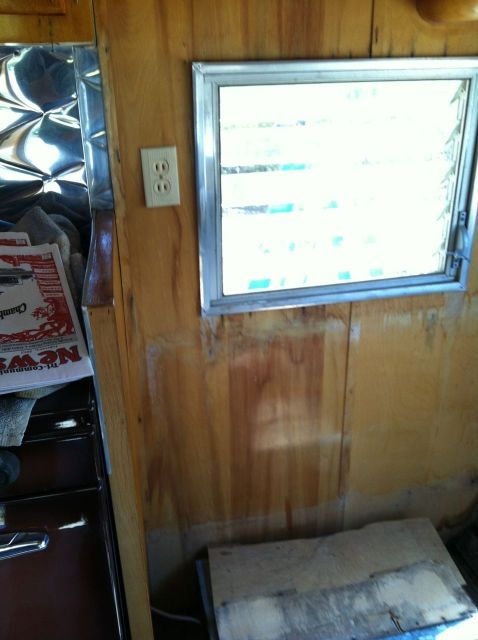
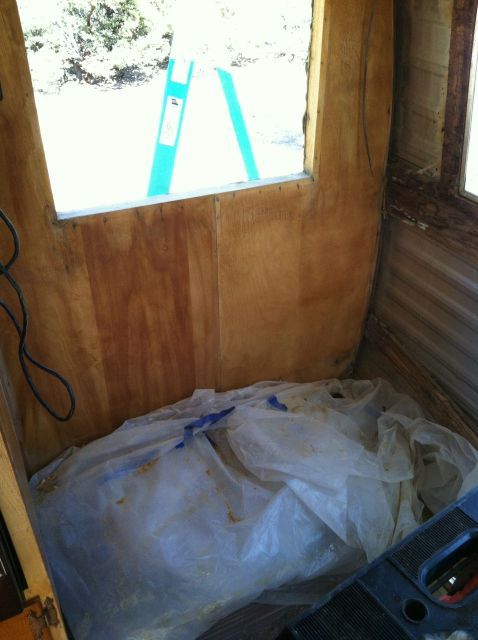
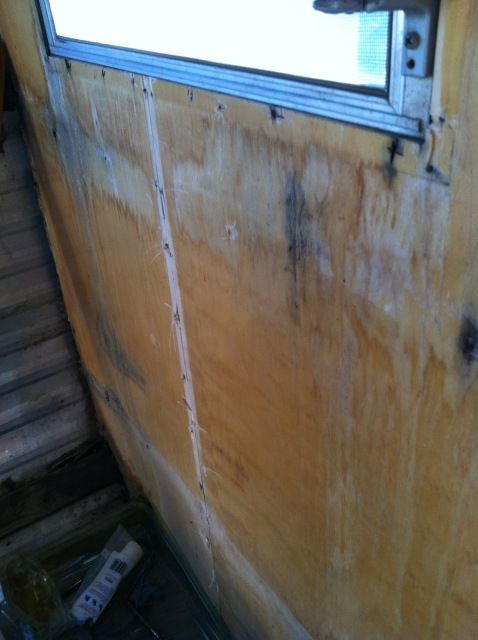
The driver's side window and wall


Started on the wall on the driver's side of the dinette that was pretty rugged.  I was going to try and save it.  Started off by removing the window and took it out to polish.  I stripped the wall several times and scrapped the old shellac off in layers
The dinette seats are reupholstered and ready to go back in when I get the front end re-done.  the original water tank waits for replacing as well.

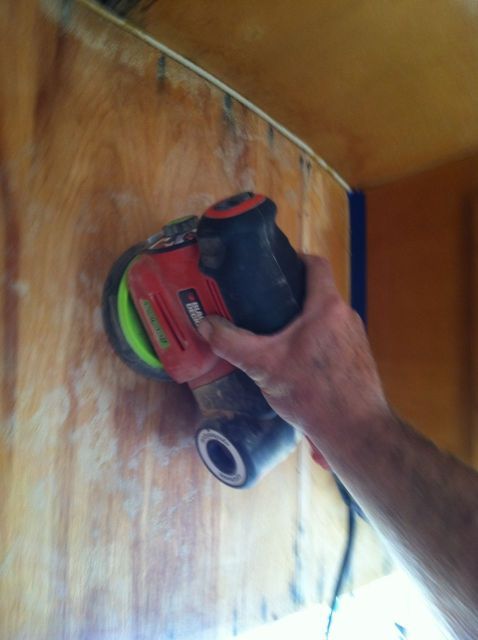
what did we do before these cool sanders?
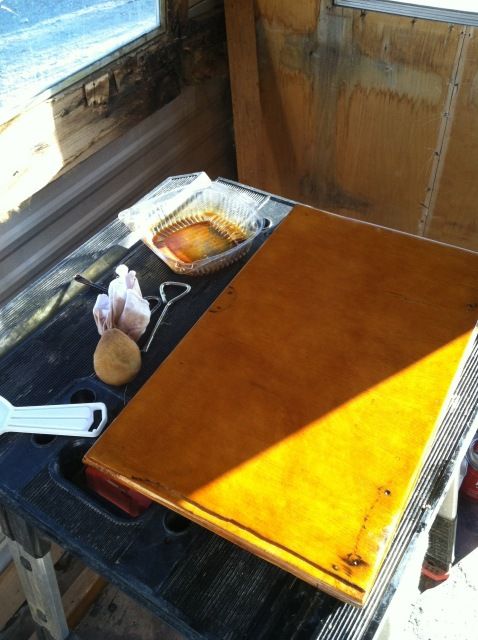
A sanding with 120 grit and then again with 220 and i was ready to pre-stain and stain with golden Oak.  I found a light coat of Golden Oak matched the patina of the 1950's original wood when covered with the Amber shellac.


One solid coat of Golden Oak stain and I'm ready for the Amber shellac.


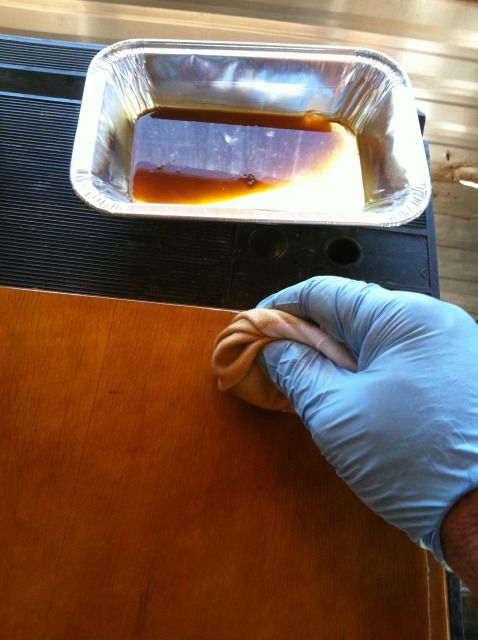
I apply the Amber shellac with a terry cloth pad.  I cut the shellac almost
Five coats of Amber over the golden Oak stain
50/50 with denatured alcohol.  By the time I have got to the bottom, I can do another coat.  The alcohol evaporates and leaves the shellac in a thin coat.

After that goes on,  I lightly sand it with some 000 steel wool and wipe it well.  It's time then for the French Polish technique.

Multiple passes in a circular motion


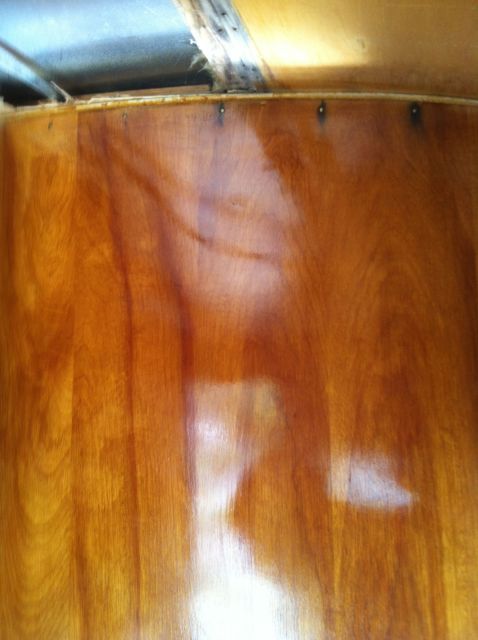
I apply the shellac...still with 50/50 alcohol with the pad and continue layering.  I'll do twenty layers and the spirit off the residual oil and shellac.  I evaluate every twenty layers for color and depth and shine.

When it's the way i want it, I switch to clear shellac to finish building up.

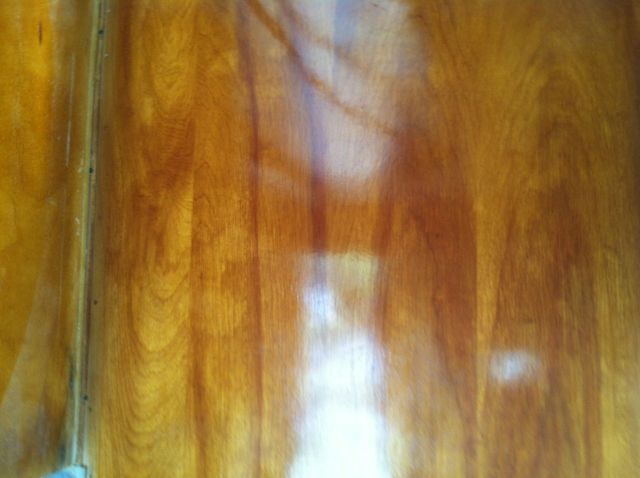
The end result is what I was hoping for.  I can salvage another piece of original birch and it looks pretty cool to boot.  Matches the other stuff that's done.

Works for me!


 Now, there are as many ways of refinishing the birch on these old trailers as there are types of finishes.  I tried using a brush to apply the shellac but was never happy with the results.  I kept wanting the shellac to behave like varnish does but....it wouldn't cooperate.  I am very happy with how the French Polish technique is turning out and I have the time to "take my time".  It may not be for everyone.

Next up is finishing the last two windows by polishing and redoing the putty tape and new screws and replacing the wood in the front end along with some birch paneling.  Once that's done, the front end is pretty much done.  Yahoo!


Thursday, April 26, 2012

I have really been fortunate in having a pretty good support system as our Deville gets put back into original working order.  Because of the water damage, I am rebuilding and refinishing pretty much the entire inside.  I have relied on sites such as Larry Walsh's incredible series on rebuilding the Deville and Rebuilding the Shasta

 http://www.cannedhamtrailers.com/

I watch the appropriate video the night before to make sure I know what I should be looking for or what not to do!  Larry is a natural teacher and
it's like talking with an old friend as I watch him work magic on those old trailers.  Lots of others have shared what works and doesn't in their blogs.

Some one had asked about how to do French Polish using Shellac.  I figured I'd contribute back in the spirit of those who have shared so much to me.  French Polish is an old technique that is used for fine furniture and musical instrument.  The technique is not difficult to master....kinda like spit shining boots for those in the service.  The thing I like about it is that  it goes quickly.  You can put fifty coats on in a day and have rich, mirror like finish that just reeks of old.

Here is part 1 of how to apply French Polish.  I apologize for the photography...I shot it with my IPHONE and didn't have a tripod.  Part  2 is right below the first video....I guess where it should be.   

I like to watch these in full screen.


French Polishing With Shellac from jim Wilkins on Vimeo.


Part 2 of how to do French Polish with Shellac for restoring vintage trailers.


Sunday, April 15, 2012

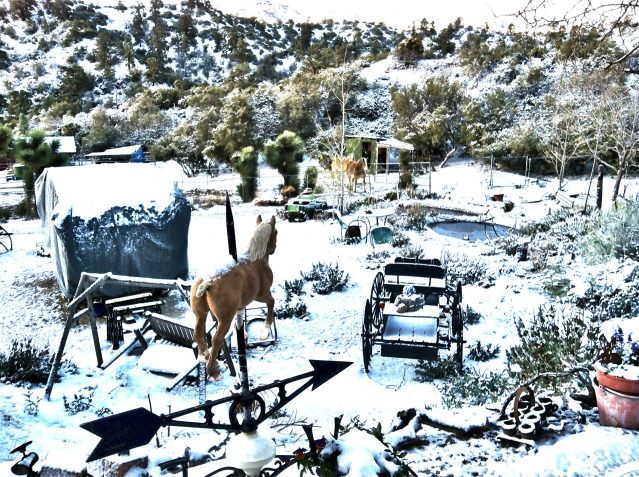
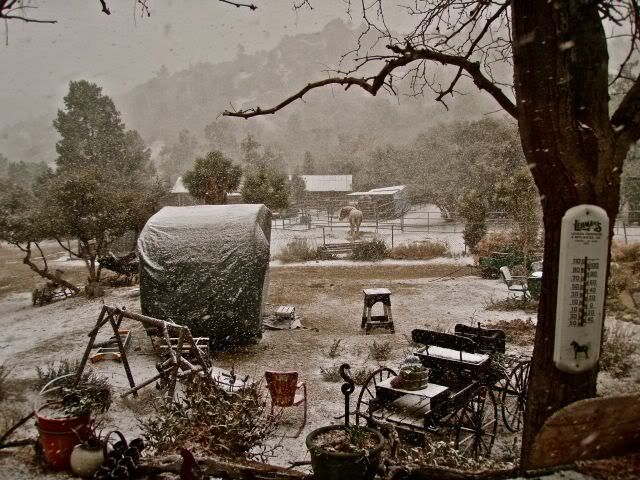
So the final snow storm of the season has come and gone....I hope.  Lots of wind and blowing snow.  The lilacs and roses aren't sure what they're supposed to be doing.  I love the crunchy snow when I go down to feed but can do without the muck and sticky mud when it starts to melt. 
The Deville and the horses are getting tired of the cold stuff!

they are calling for temperatures in the 90's down the hill and it will be warm here.  Getting set to tear into the repairs to the bracing and the paneling in the front of the Deville.  It looks like we have a long window of high pressure building and that means no worries about getting the inside wet while that process takes place.

I am very happy with how the inside cabinets are looking after I used the french polish with the shellac.  I really like the look....it's easy for my nontechnical mind and abilities and I can repair dings very easily.

This is what a lot of the wood looked like before I started.

Birch by passenger side dinette and door
 The cabinets had a lot of staining and water marks but the unique shape
meant that I wanted to try and save them if possible.  I stripped them
and sanded with sandpaper down to 220 and then steel wool.  Cleaned very well and put some minwax Oak stain on.  That seemed to match the existing birch paneling the best when followed with Amber Shellac.

Workmate with scraper, French Polish "rubber" and shellac and  Denatured Alcohol
I get some scraps of rags (I use old socks).  Cut them into strips and make a ball.  I dip that into the Shellac solution and get it soaked.  I wrap the ball with a small piece of T shirt material and twist.  I then flatten it into my palm and apply a single drop of virgin Olive oil to the surface to help it move smoothly on the wood.  Then...just I apply the ball to the wood in circular motions.  Some say to use figure eights but I have better luck with
 the circles.  I start at the top and go across and move on down.  By the time I am at the bottom, the top has dried enough to go back and start over again.  Takes a number of applications....like 30-40 but it is a small area and it goes quickly.

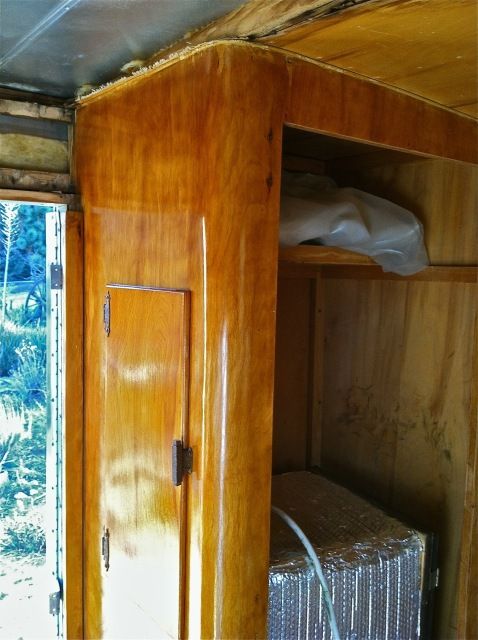
Here's the cabinet over the oven/stove.  It was really thrashed but turned out pretty good, I think.  After applying the Amber shellac to taste for color, I switch to clear shellac and layer it until I like the depth and shine.  It really is incredible to see just how nice this turns out.  My other efforts with a brush (even a 35 dollar brush) were not near as nice.

I think it turned out pretty good.  Wish I could capture it better on camera.  

Here's the cabinet over the sink. 
The one cabinet I really thought we would have to rebuild was the tall one by the door.  Fifty years of boots kicking it and making marks and scratches made me think there was no way.  Lots of elbow grease and the french Polish really made it pop.  I am very pleased with how it came out. I figured it would take me days to get this cabinet done but it went quickly and I was finished a couple of hours. 

I am planning on stripping and refinishing all of the existing paneling that will be kept and all of the new paneling that I will install.  Same process....strip...sand...pre-stain treatment- stain...amber shellac and then clear shellac.

That's my ice box waiting to be reinstalled in the closet

I have a week long course for Public Information Officers I am coordinating and then will dive in and get the front end fixed and buttoned up.  We've come a long way.  Never dreamed we'd be doing all of this when we brought the Deville home.  It's gonna be incredible when we're done.
Monday, March 26, 2012

We just had another wet storm roll through our neck of the mountains and it left us with six inches of wet snow.  Since I can't work on the trailer and am dead in the water when it rains...I thought I would post a few pics from our place.  I'll be starting the front restoration of the framing and paneling when it dries out.

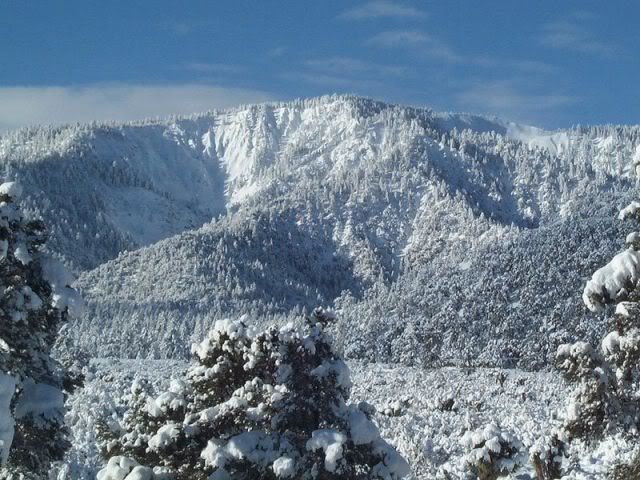
This is the view from our front porch if I am using my 400 telephoto lens on the Canon.  We used to live up in the big trees before we moved down a little bit to have our horses on our property.  Never tire of the view...

Another view from a different angle

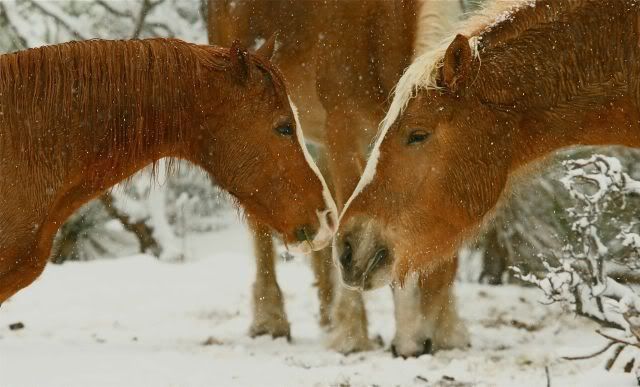
Making friends.....Fire and Annie

Yucca Bloom


Male Anna's Hummingbird

Riding out the storm....
I've got something on how to do the french Polish technique that I am working on and will update my progress on the frame and paneling rebuild.  Thanks for looking.

Monday, February 27, 2012

Just a short entry to share our pleasure with a cover we bought on EBAY for the Deville.  I think we paid under a hundred for it but it could have been a bit more.  We knew the trailer must leak and we live in a foothill area that sees a lot of snow some winters.  This winter had been mild but some years, we measure the snow in feet.  They called for snow today at well below our elevation and I put the cover on last night.

Here's this morning's weather....


Here's the beginning of the storm.  The horses always stand out in the snow....always.  Really used to trouble me that we gave them warm and dry shelters but they stood out with the snow piling up on their backs.  They have a built in cover with that winter coat they grow, I guess.


We were waiting to get the front end rehab started when we might have three or four days of good weather.  Maybe next week.

We have used the cover through several rain events and are very pleased with how easy it goes up (as long as the wind is not blowing like crazy) with one person doing it.  I use a ladder....roll the cover from each end to the center and place it on the roof in the middle of the trailer.  I move the rolls back and forward till gravity takes it over the edges and climb down to secure it.  Until I learned that rolling to the center trick, it could take me a bit with the wind blowing.

Next post, I'll share what I have discovered about doing my birch wood and what I have decided on.

Here's one of our locals taken out the front window...they enjoy the snow as well!


Friday, February 17, 2012

Part 3....Why We'll Do A Partial Rebuild

Part 3....
Why we'll have to do a partial rebuild will become evident in a moment.  We had hoped that there wouldn't be too much wood rot and mold but that was pretty much wishful thinking.  There was a reason the Previous Owner had put the non-matching oak paneling up over the birch and we were about to find out why.  There was oak on the front by the dinette...on the ceiling around the vent and in the rear by the gaucho bed.   At first glance, it didn't look too bad but it didn't match and there just wasn't the same amber colored patina that we enjoy.

The oak was screwed right over the original birch


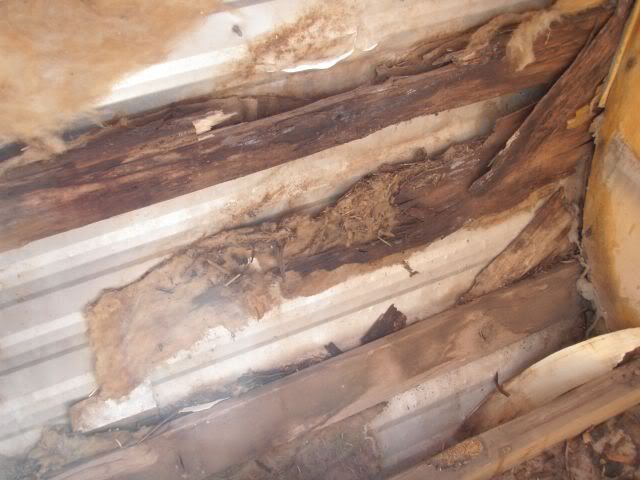
I pulled down some screws in the front of the trailer and took a peek inside. I finished taking all the screws out and found a mess of mold, wood rot and insect carcasses.

Darn!  I knew there was reason for the extra paneling....
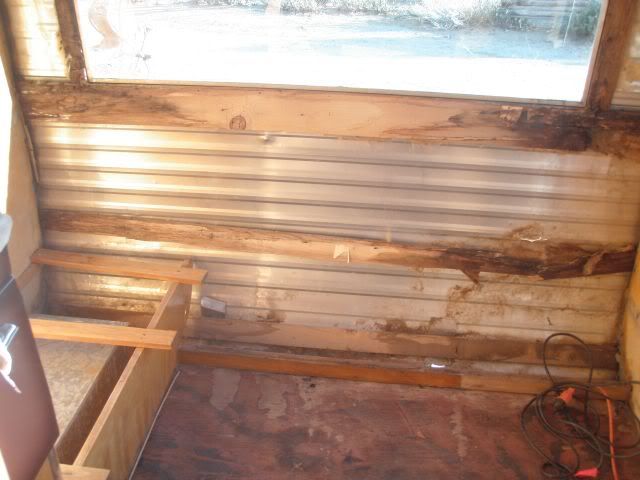
Front right corner of the trailer.  You can see the board that birch paneling had been secured to.  There is a cut in the tin about 1/3 of the way up and it had been covered with a vent on the outside.....obviously a while after the damage had been done.


The original birch is the yellowish paneling and this was where it attached to the floor board.  It was hidden by the oak.


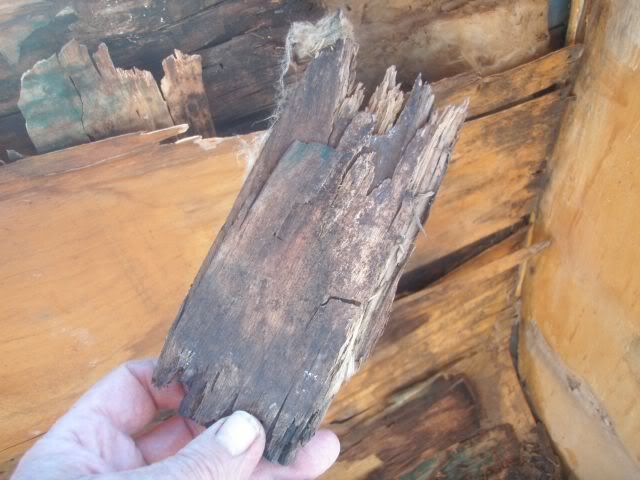
Very spongy section of one of the 1 by 4 cross braces.

 Looking in the lower right hand corner of the front of the trailer again.
The boards that support the front end are crumbling.  The wood that the tin staples into and the J rail screws into is dust as well.

There was some rot and mildew on the left side as well.  The PO used copious amount of silicone goop and still couldn't keep the water out.


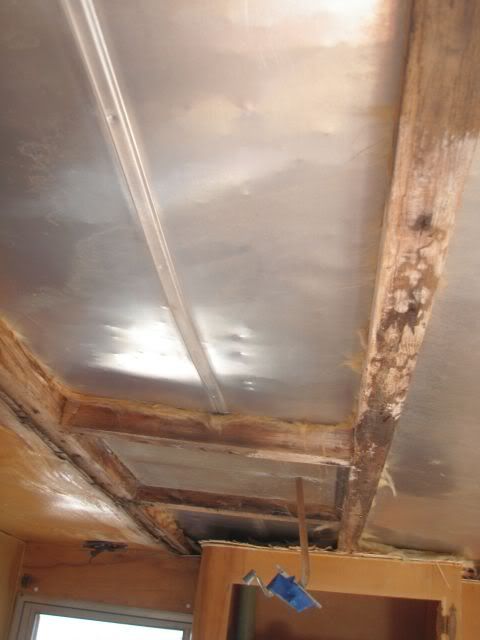
This is ceiling tin and supports that have some mildew and mild rot from water coming in.  They had put the Oak over the warped and mildewed birch...some evidence in the left side of the picture.  We're looking from door towards the kitchen cabinet.  The tin will have to be removed and we will reinstall birch and redo the supports while we're in there.  (Remember, I was thinking we could just get away with some sanding....shellac and upholstery...)

This is the aluminum brow that covers the front window.  It would have polished up nicely had it not been secured with copious amounts of that insidious silicone.  I have to get the window out before I can take the tin off to do the inside paneling and supports.


I tried nine different ways to get this stuff to unleash the brow but finally the only thing that would work was brute strength....a bread knife from my camp box and a lot of the seven words that you used to not be able to say on TV.   I spent over two hours removing this brow.  All I could think of was the door breeching explosives used by our troops and how that just might be the ticket.  The brow was destroyed in the process ( I have access to another)

The back of the trailer has the same issues and will be addressed next.  In addition, I noted a large and thankfully desiccated wasp nest complete with dead wasps by the rear tail light.  All in due time.

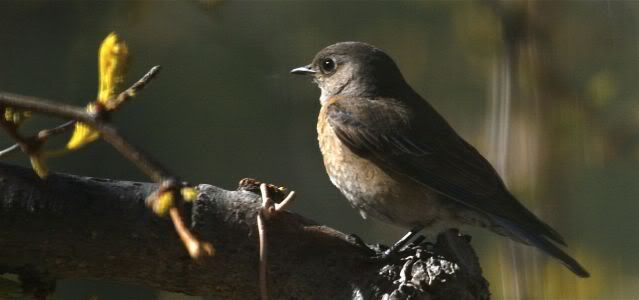
I'll leave you with a picture of another of the reasons why we love living in our little valley.  This young Bluebird has been hanging around for quite some time.  They really enjoy the pond and perching in the high places.


Thursday, February 16, 2012

Part 2...the "Before" photos

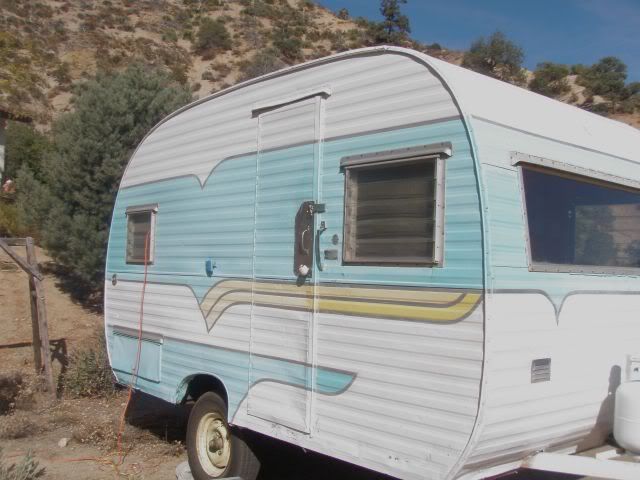
Part 2 of the "Before" photos of our 1959 Catolac Deville.  As I shared, the trailer itself is still pretty much all there.  Initially I thought we could clean really well....do some shellac and load her up to go.  On closer inspection, I realize that I might have been hasty in that judgement.  I'll share some of that in this posting.

The side is pretty straight but there are some small dings
We were very lucky in that all of our glass is intact and the Hehr windows work flawlessly.  Of course, the down side is that three of the windows were remounted with copious amounts of Silicone....the kind that small artillery could not dislodge.  Folks need to take a solemn pledge when they buy one of these canned that they will never...ever use a silicone product on the trailer.  I am looking forward to hours spent removing that goop so I can reseal correctly with butyl tape.

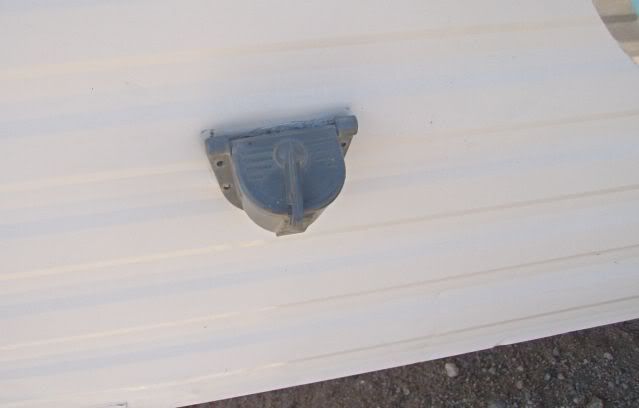
          Original water fill          


The shore water fill....electric shore power plug and water tank fill are all original.  All will need to be resealed.  The water tank fill and shore power, need some kind of shimming inside to pull the tin closer to get a good seal with the tape.

.  You can see the original side and back lights.  License plate light is not original.


The top has had issues with leaking.  Lots of silicone in places and the wood inside reflects that water had been leaking for a while.  The vent works well and there is a smaller vent for the sink...more about that later.  Both were sources for water entering the trailer at one time.
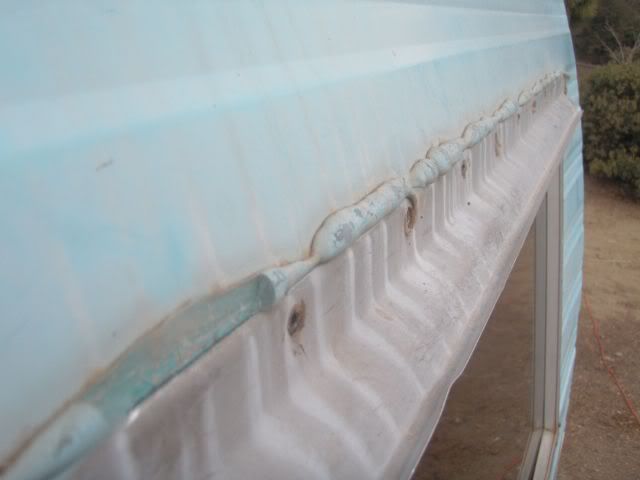
The j rail is in pretty good shape but the putty was dry and brittle.  I have already replaced all of that.

The reason the PO gooped this J rail up was there was water coming in.  The water was coming in because the wood frame was rotten and falling apart.  We'll fix all of the that in the coming weeks and months.

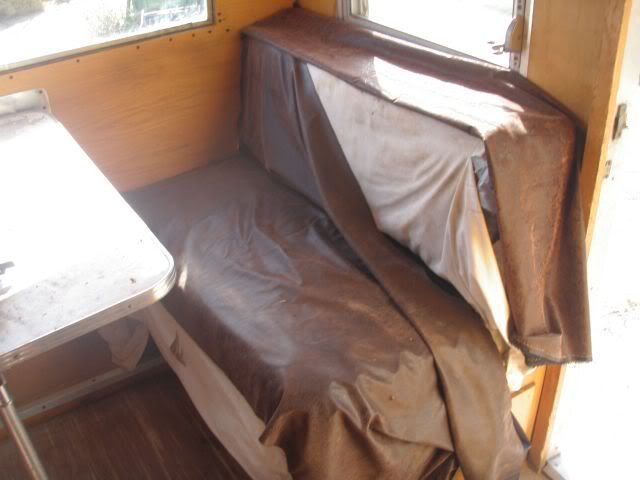
Dinette on the door side

The dinette upholstery was a bit on the rugged side.  The table will need to be rebuilt and recovered as well.  We have the upholstery done already and are very pleased with the final result.  the table was just some masonite with a paper covering that is coming up.  It will get a rebuild and new covering as well as a new table leg.

Propane light....needs cleaning up, mantle and globe.
Some people don't like these propane lights but we are very comfortable with them.  I found a complete spare on EBAY with intact globe so we are looking good on this.  We have a number of Amish friends in Ohio and they all use propane lights in their homes, barns and workshops.

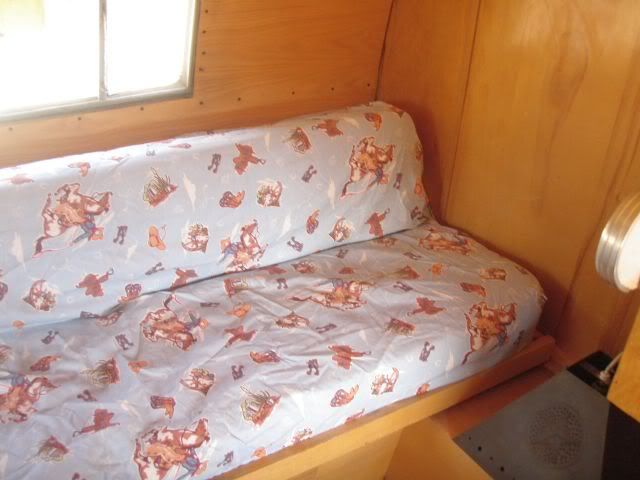
Rear of the trailer...The Gaucho bed
How the gaucho bed slides back to make up a sofa


We have a gaucho bed in the rear that my wife would like to have made into a permanent bed.  We'll do that after doing the rebuild in the rear of the trailer.  Notice the Oak placed over the birch paneling?  There's a reason for that....rot, mold and wasps nests....lots of them.  Thankfully the wasps are dead.  The sink is to the right and the closet to the left.


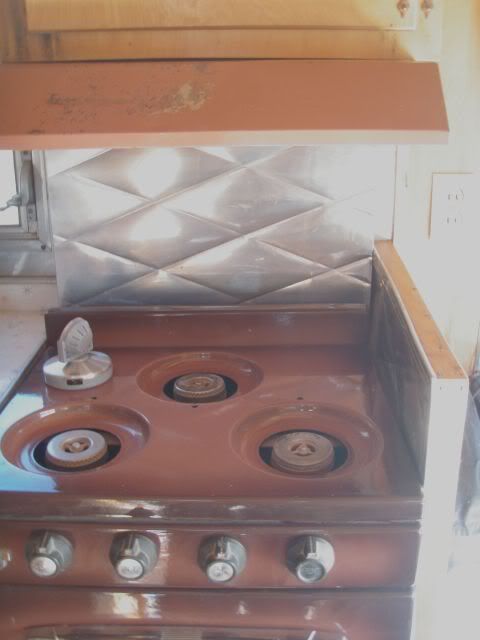
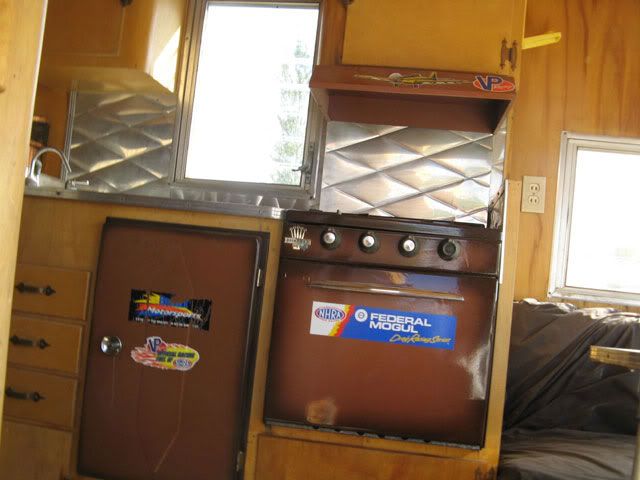
We have a 3 burner Princess oven and stove


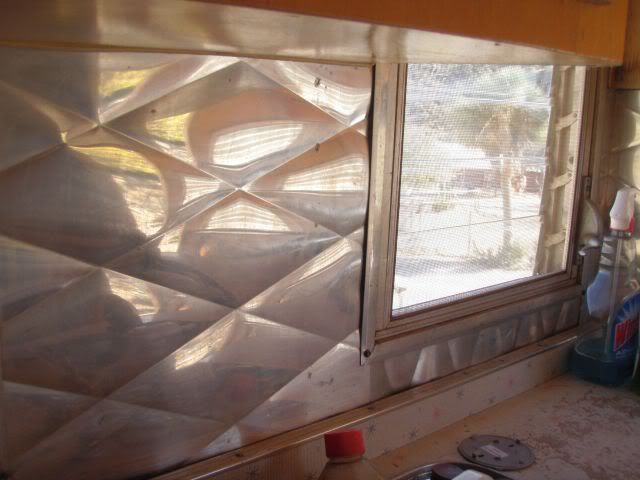
The aluminum back splash is pretty cool


The stove looks like it wasn't used much.  I will be placing some heat shields under it and next to the ice box as there is none now.  The back splash polishes up very nicely with aluminum polish and my buffing wheel.


Drawers, sink, icebox and stove.
And so it goes.  Part 3 will share some of the reasons I will have to be doing a partial rebuild on the trailer.  I was amazed what I found under the oak paneling.  Until then... thanks for sitting a spell.  I will leave you with another of the reasons we enjoy living in this wonderful valley we call home.

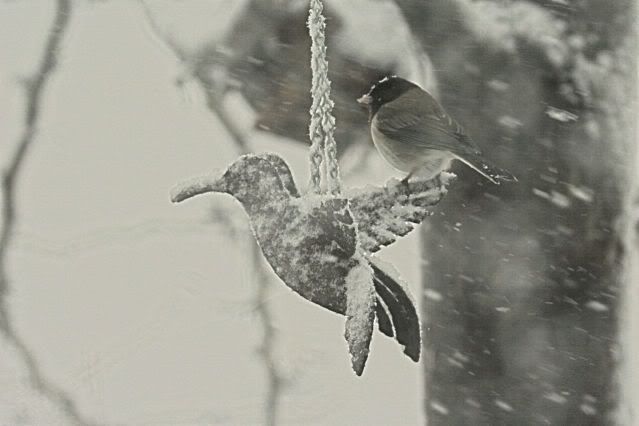
Yep....we get Hummingbirds that winter over each year