Part 3....
Why we'll have to do a partial rebuild will become evident in a moment. We had hoped that there wouldn't be too much wood rot and mold but that was pretty much wishful thinking. There was a reason the Previous Owner had put the non-matching oak paneling up over the birch and we were about to find out why. There was oak on the front by the dinette...on the ceiling around the vent and in the rear by the gaucho bed. At first glance, it didn't look too bad but it didn't match and there just wasn't the same amber colored patina that we enjoy.
 |
| The oak was screwed right over the original birch |
|
|
|
|
I pulled down some screws in the front of the trailer and took a peek inside. I finished taking all the screws out and found a mess of mold, wood rot and insect carcasses.
 |
| Darn! I knew there was reason for the extra paneling.... |
Front right corner of the trailer. You can see the board that birch paneling had been secured to. There is a cut in the tin about 1/3 of the way up and it had been covered with a vent on the outside.....obviously a while after the damage had been done.
The original birch is the yellowish paneling and this was where it attached to the floor board. It was hidden by the oak.
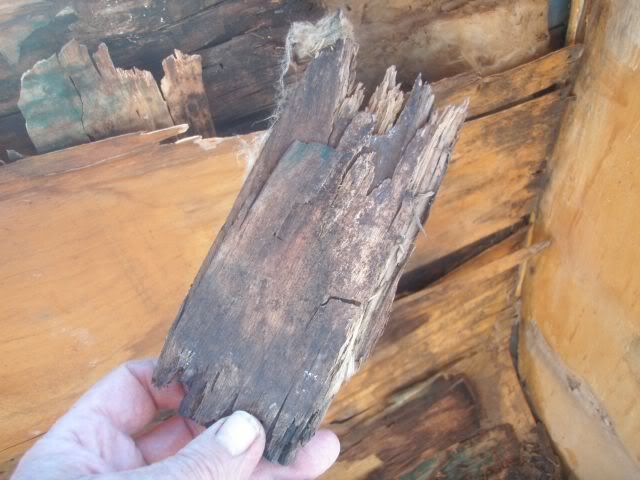
Very spongy section of one of the 1 by 4 cross braces.
Looking in the lower right hand corner of the front of the trailer again.
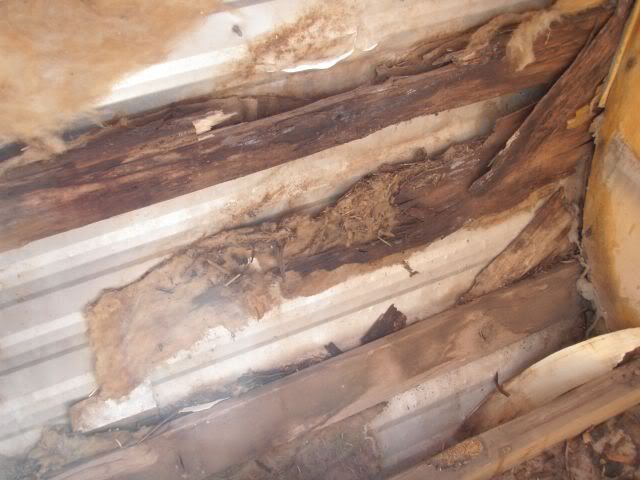
The boards that support the front end are crumbling. The wood that the tin staples into and the J rail screws into is dust as well.
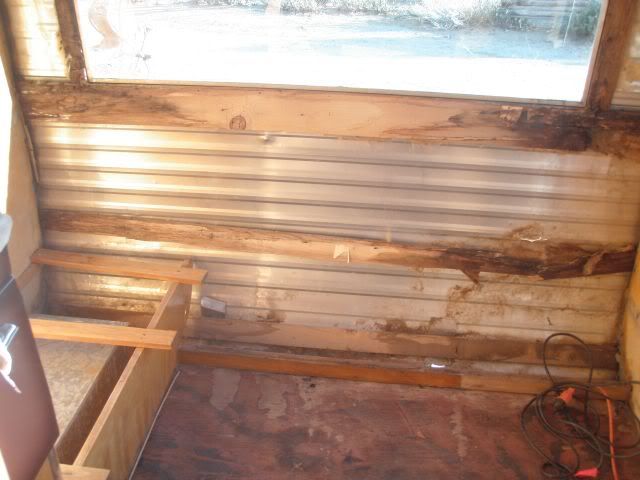
There was some rot and mildew on the left side as well. The PO used copious amount of silicone goop and still couldn't keep the water out.
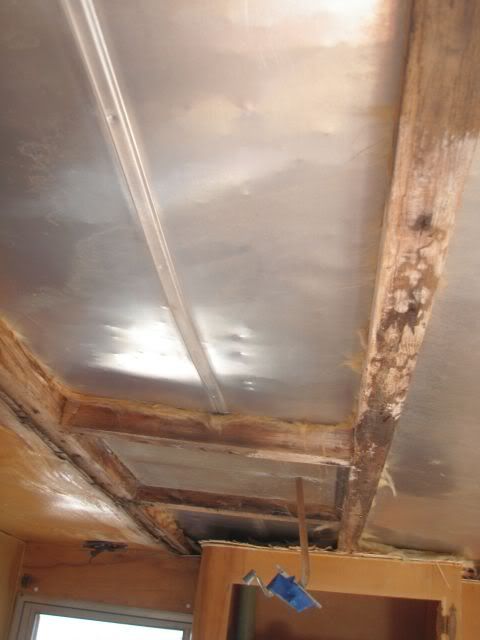
This is ceiling tin and supports that have some mildew and mild rot from water coming in. They had put the Oak over the warped and mildewed birch...some evidence in the left side of the picture. We're looking from door towards the kitchen cabinet. The tin will have to be removed and we will reinstall birch and redo the supports while we're in there. (Remember, I was thinking we could just get away with some sanding....shellac and upholstery...)
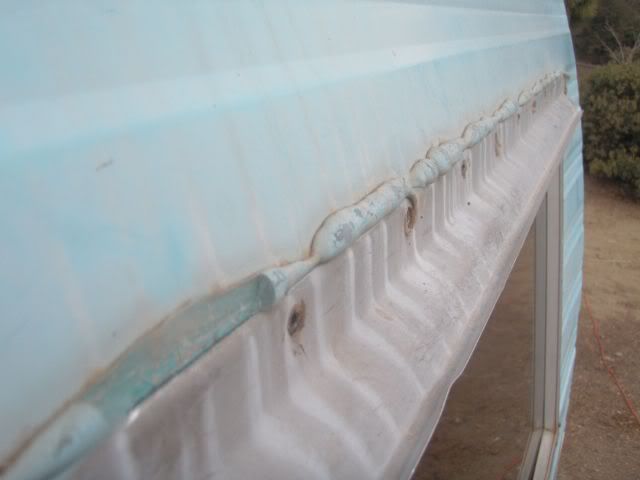
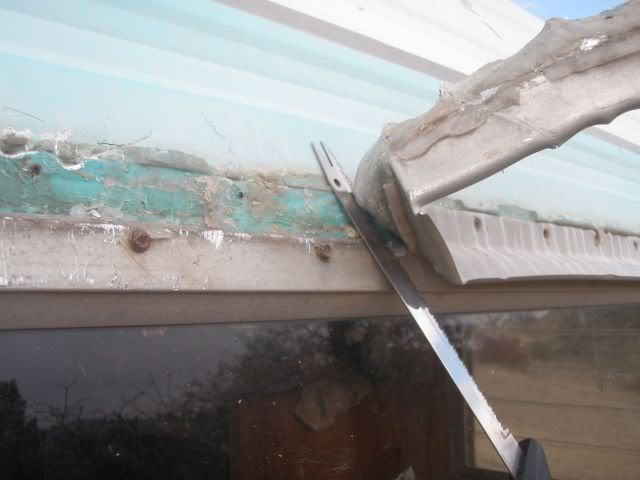
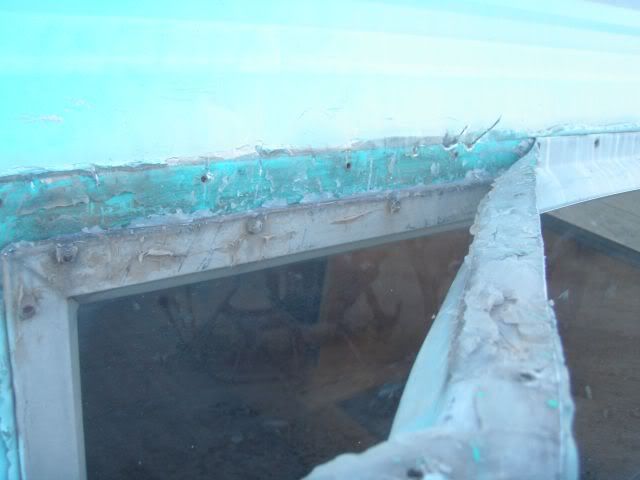
This is the aluminum brow that covers the front window. It would have polished up nicely had it not been secured with copious amounts of that insidious silicone. I have to get the window out before I can take the tin off to do the inside paneling and supports.
I tried nine different ways to get this stuff to unleash the brow but finally the only thing that would work was brute strength....a bread knife from my camp box and a lot of the seven words that you used to not be able to say on TV. I spent over two hours removing this brow. All I could think of was the door breeching explosives used by our troops and how that just might be the ticket. The brow was destroyed in the process ( I have access to another)
The back of the trailer has the same issues and will be addressed next. In addition, I noted a large and thankfully desiccated wasp nest complete with dead wasps by the rear tail light. All in due time.
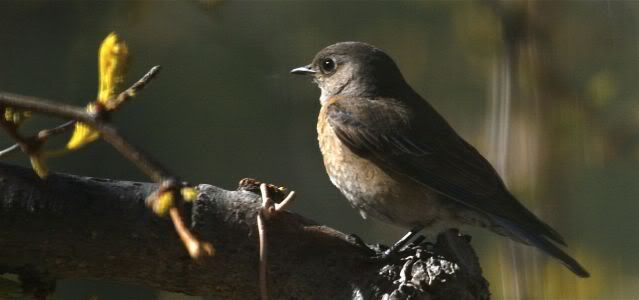
I'll leave you with a picture of another of the reasons why we love living in our little valley. This young Bluebird has been hanging around for quite some time. They really enjoy the pond and perching in the high places.