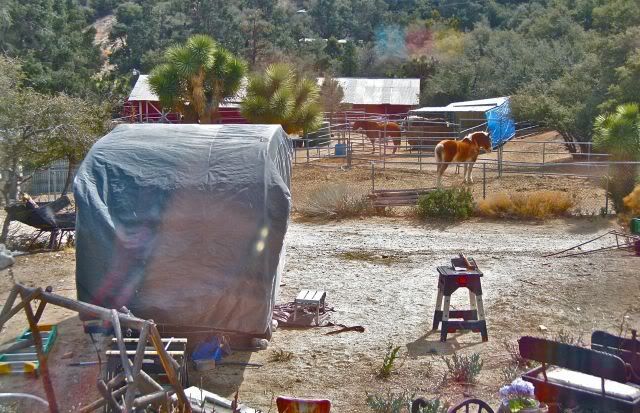
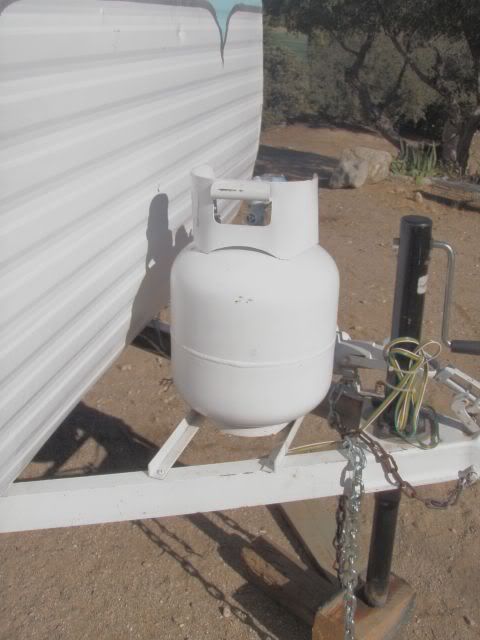
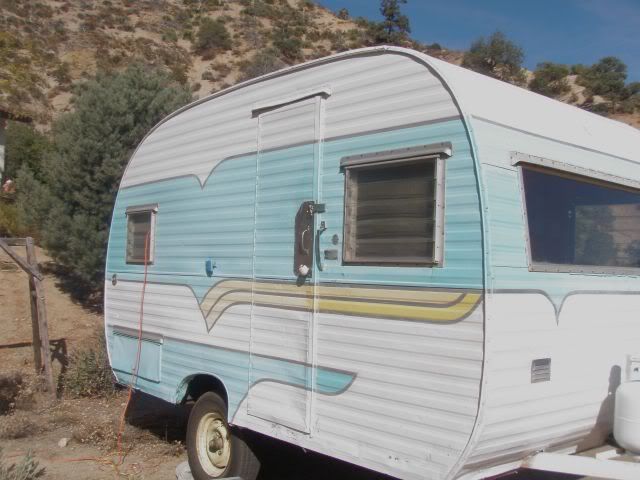
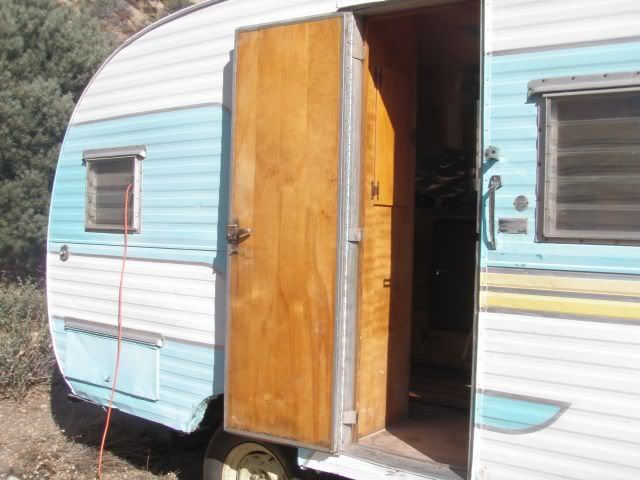
Here are some before pictures of our 1959 Deville. Starting at the tongue, I was pleasantly surprised at how most everything was still pretty solid with little rust evident.
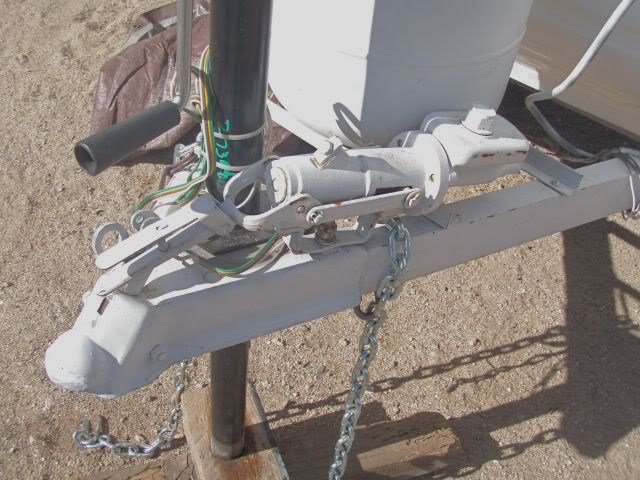
The tongue was straight and had the VIN stamped in the metal on the side. If one were to use the same method of dating and establishing manufacture date as Shastas do, the trailer would be a 1952. No one really knows as the PO only guessed when he made the forms out for the Utah DMV. We'll figure it out one of these days. The jack was brand new and on the side of the tongue was something I had to ask about to figure it out.
It was a hydraulic parking brake.
You pulled the handle and the fluid went to the drums and locked them down somehow. i took it off and will not be using it.
The chains we added to travel and I will be mounting them differently.
The original trailer wiring was not functional and we used a temporary setup that worked well. All new rear lights wiring will be installed as we get to rebuilding the back end.
The paint was in fair shape overall. The striping and aluminum stripe were sharp. There's some evidence that this is not the original color (original was a darker blue/green). The axle had been rotated and you can see how high she sits. Normally, the deville sits so low, it is hard to change the tire. Since we live on a bad dirt road and plan on camping off of bad dirt roads, we'll keep it for now. It also makes it easier to clean up the underneath.
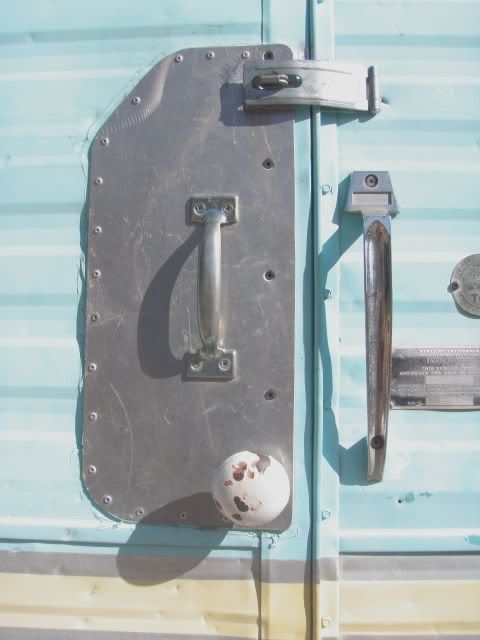
The original door handle is missing on the outside but is original on the inside. They had an interesting sheet metal thing going and the door handle i very old. For now, they work and they'll stay. Looks like the original door handle.
The inside door birch paneling has some water damage at the bottom. I will eventually replace it but again, more pressing things beckon. The rear compartment door is pretty dinged up and will make a new one someday. Latch works well.
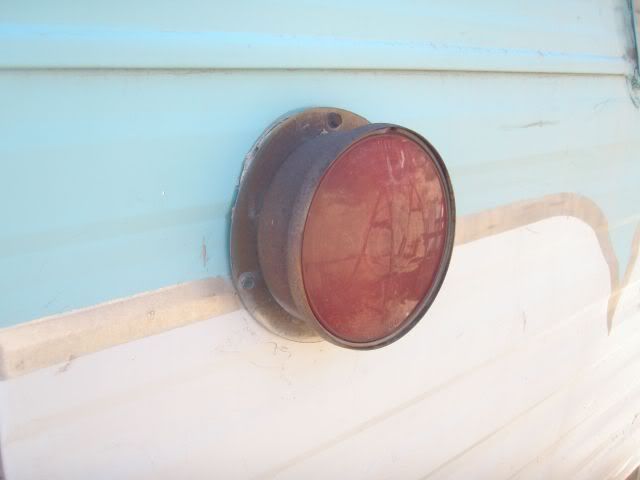
One of the tail lights. Totally rusted and not working. I have since pulled them out and buffed them out to near new looking and rebuilt the interior sockets with new springs and connections. Amazing what the buffing wheel will do.....even makes the red glass look like new and it's 50 years old!
I wanted to share something briefly that I will elaborate on down the road. If you are interested in restoring vintage trailers or campers, there are a number of wonderful web sites for you to go through and learn from. One of the best and the one I refer to almost daily now is larry Walsh's
Canned Ham web site. Full of videos and techniques that illustrate the twists and turns of restoring fifty year old campers. He has a series of over 40 different videos that cover most every system and method for getting these old trailers back to their prime. He's also quite an interesting character. Bookmark this one:
This concludes
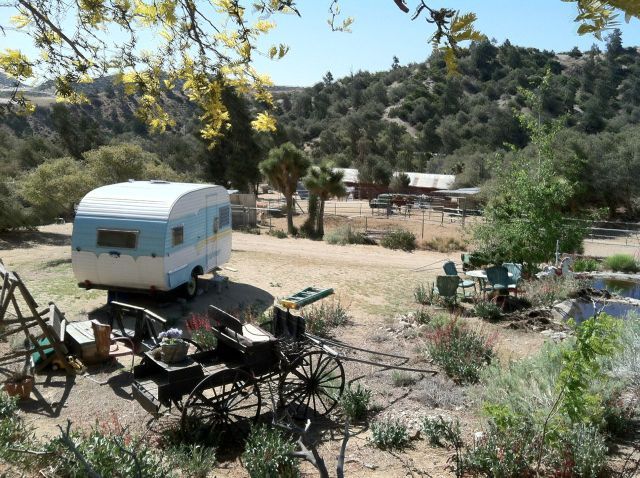
part 1 of the walk around and look inside of the "before". I've got to tie some flies for an excursion to try and connect with some browns on Friday. I'll leave you with this....It's a picture taken here at the ranch and something we are thankful for every day....our wonderful wildlife. This little Bobcat was sleeping the afternoon away in a dead tree right behind the house. The Ravens let me know he was there and he posed and snoozed for several hours before strolling off.
 |
| Saw a Mother and baby Bobcat strolling across our ridge at sunset last week. They ambled like they owned the mountain....which I guess they do. |
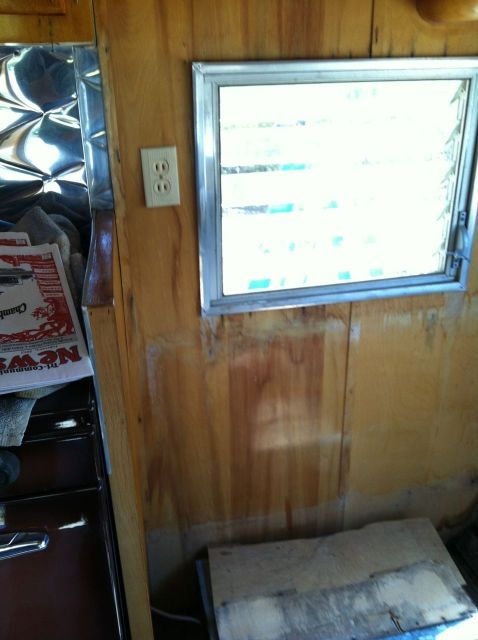
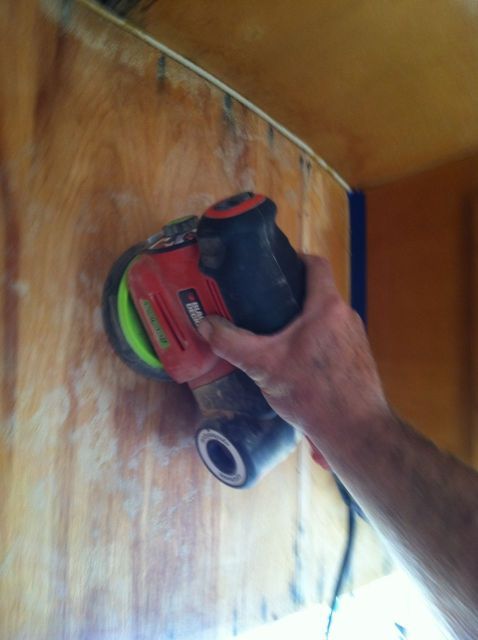
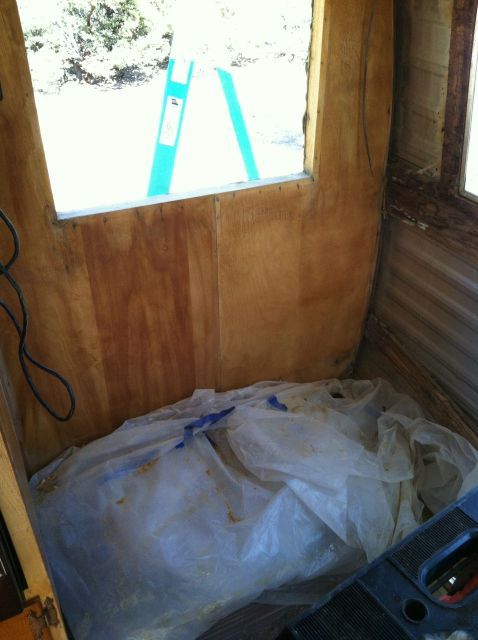
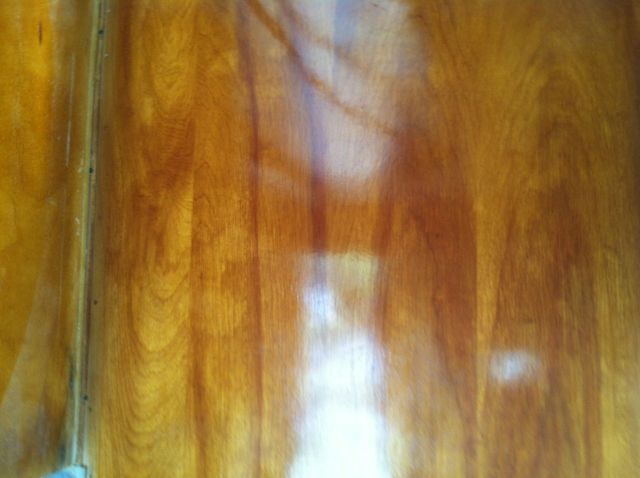
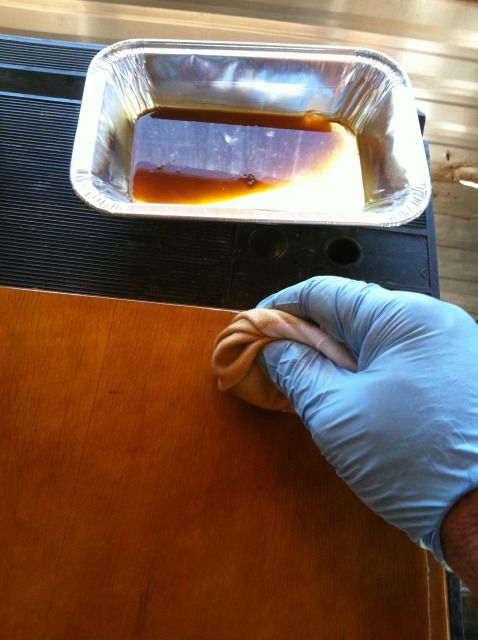
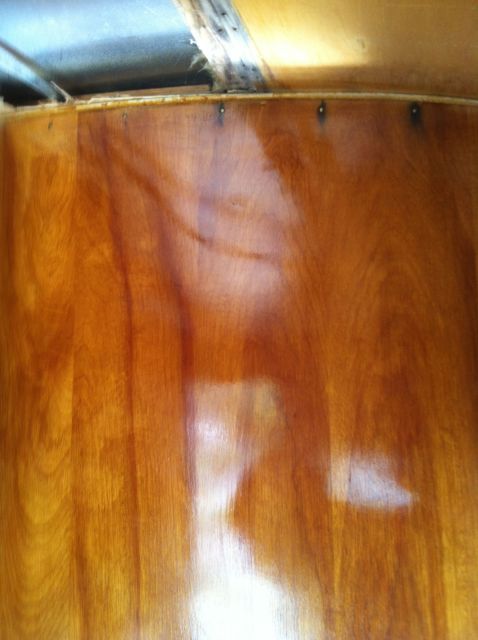
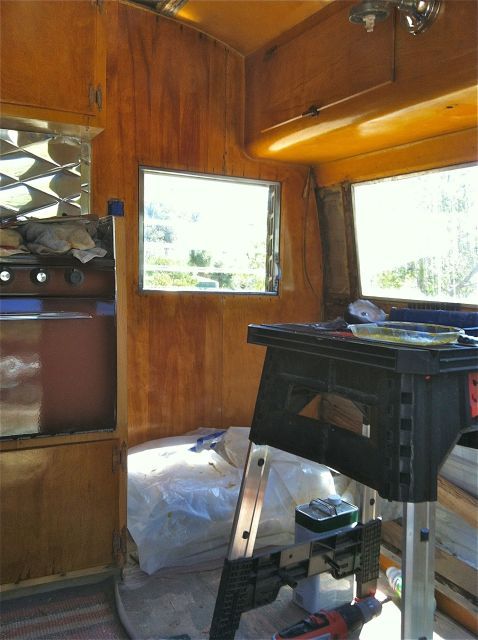
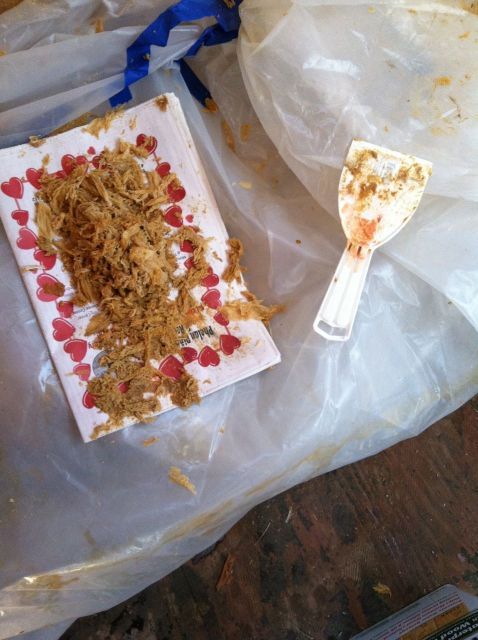 Started on the wall on the driver's side of the dinette that was pretty rugged. I was going to try and save it. Started off by removing the window and took it out to polish. I stripped the wall several times and scrapped the old shellac off in layers