So the final snow storm of the season has come and gone....I hope. Lots of wind and blowing snow. The lilacs and roses aren't sure what they're supposed to be doing. I love the crunchy snow when I go down to feed but can do without the muck and sticky mud when it starts to melt.
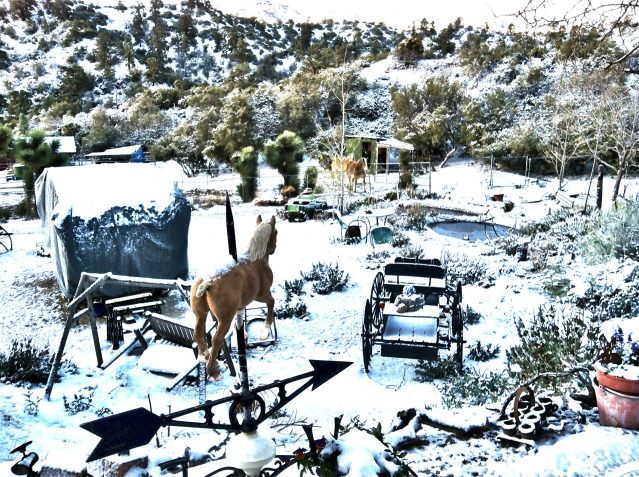 |
| The Deville and the horses are getting tired of the cold stuff! |
they are calling for temperatures in the 90's down the hill and it will be warm here. Getting set to tear into the repairs to the bracing and the paneling in the front of the Deville. It looks like we have a long window of high pressure building and that means no worries about getting the inside wet while that process takes place.
I am very happy with how the inside cabinets are looking after I used the french polish with the shellac. I really like the look....it's easy for my nontechnical mind and abilities and I can repair dings very easily.
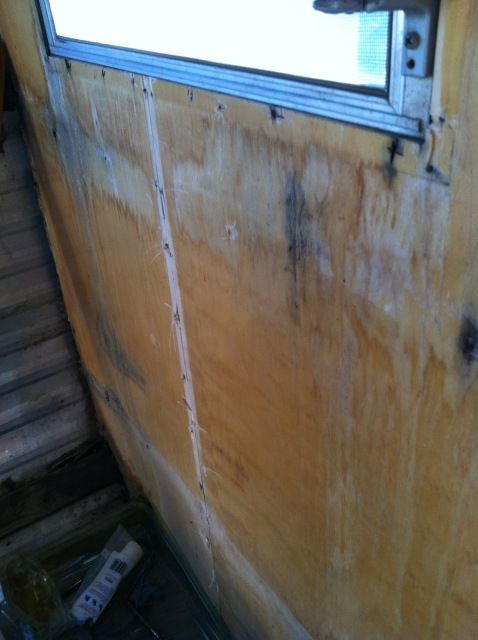
This is what a lot of the wood looked like
before I started.
 |
| Birch by passenger side dinette and door |
The cabinets had a lot of staining and water marks but the unique shape
meant that I wanted to try and save them if possible. I stripped them
and sanded with sandpaper down to 220 and then steel wool. Cleaned very well and put some minwax Oak stain on. That seemed to match the existing birch paneling the best when followed with Amber Shellac.
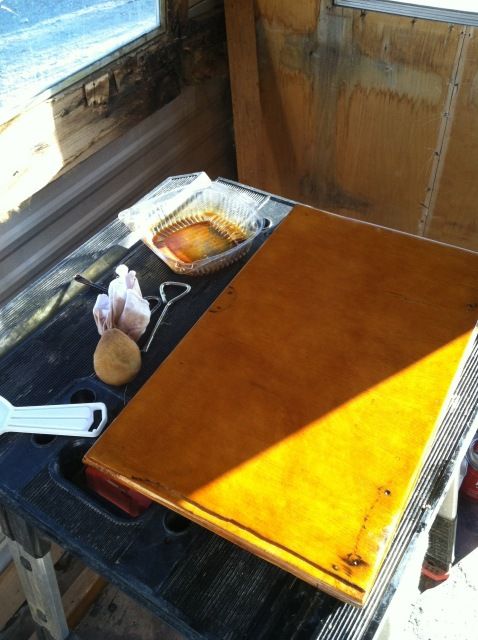 |
| Workmate with scraper, French Polish "rubber" and shellac and Denatured Alcohol |
I get some scraps of rags (I use old socks). Cut them into strips and make a ball. I dip that into the Shellac solution and get it soaked. I wrap the ball with a small piece of T shirt material and twist. I then flatten it into my palm and apply a single drop of virgin Olive oil to the surface to help it move smoothly on the wood. Then...just I apply the ball to the wood in circular motions. Some say to use figure eights but I have better luck with
the circles. I start at the top and go across and move on down. By the time I am at the bottom, the top has dried enough to go back and start over again. Takes a number of applications....like 30-40 but it is a small area and it goes quickly.
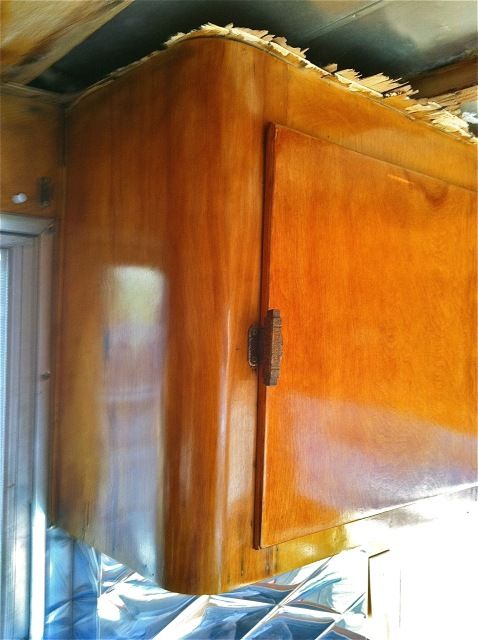
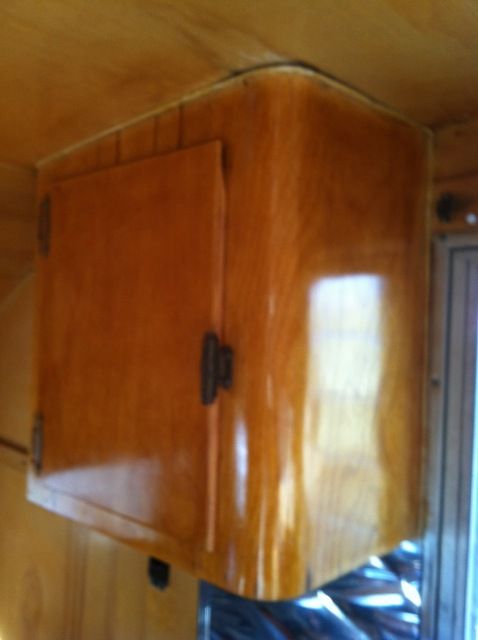
Here's the cabinet over the oven/stove. It was really thrashed but turned out pretty good, I think. After applying the Amber shellac to taste for color, I switch to clear shellac and layer it until I like the depth and shine. It really is incredible to see just how nice this turns out. My other efforts with a brush (even a 35 dollar brush) were not near as nice.
 |
| I think it turned out pretty good. Wish I could capture it better on camera. |
|
|
 |
| Here's the cabinet over the sink. |
The one cabinet I really thought we would have to rebuild was the tall one by the door. Fifty years of boots kicking it and making marks and scratches made me think there was no way. Lots of elbow grease and the french Polish really made it pop. I am very pleased with how it came out. I figured it would take me days to get this cabinet done but it went quickly and I was finished a couple of hours.
I am planning on stripping and refinishing all of the existing paneling that will be kept and all of the new paneling that I will install. Same process....strip...sand...pre-stain treatment- stain...amber shellac and then clear shellac.
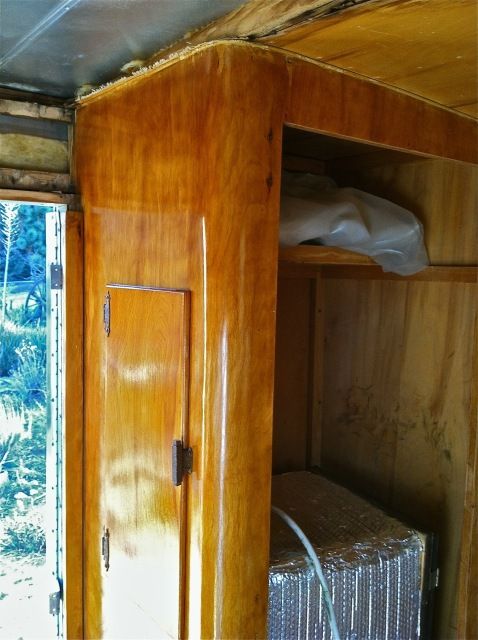 |
| That's my ice box waiting to be reinstalled in the closet |
|
|
I have a week long course for Public Information Officers I am coordinating and then will dive in and get the front end fixed and buttoned up. We've come a long way. Never dreamed we'd be doing all of this when we brought the Deville home. It's gonna be incredible when we're done.